St. Patrick’s Day is a big holiday in my eyes. I always saw it as being the real Thanksgiving in my house growing up. Maybe it was the Irish music? Maybe the shamrock tablecloth? Maybe the smell of delicious meat and cabbage being cooked by my mom? Maybe it’s the fact that we extend the invitation to anyone to join us? I don’t know, but what I do know St. Patrick’s Day is one of the best holidays (right behind Halloween!) of the year.
So this year for St. Patrick’s Day, I convinced my parents to let me try smoking some corned beef in the smoker. While they said sure, they made sure to buy backup just in case what I was envisioning didn’t pan out as expected …
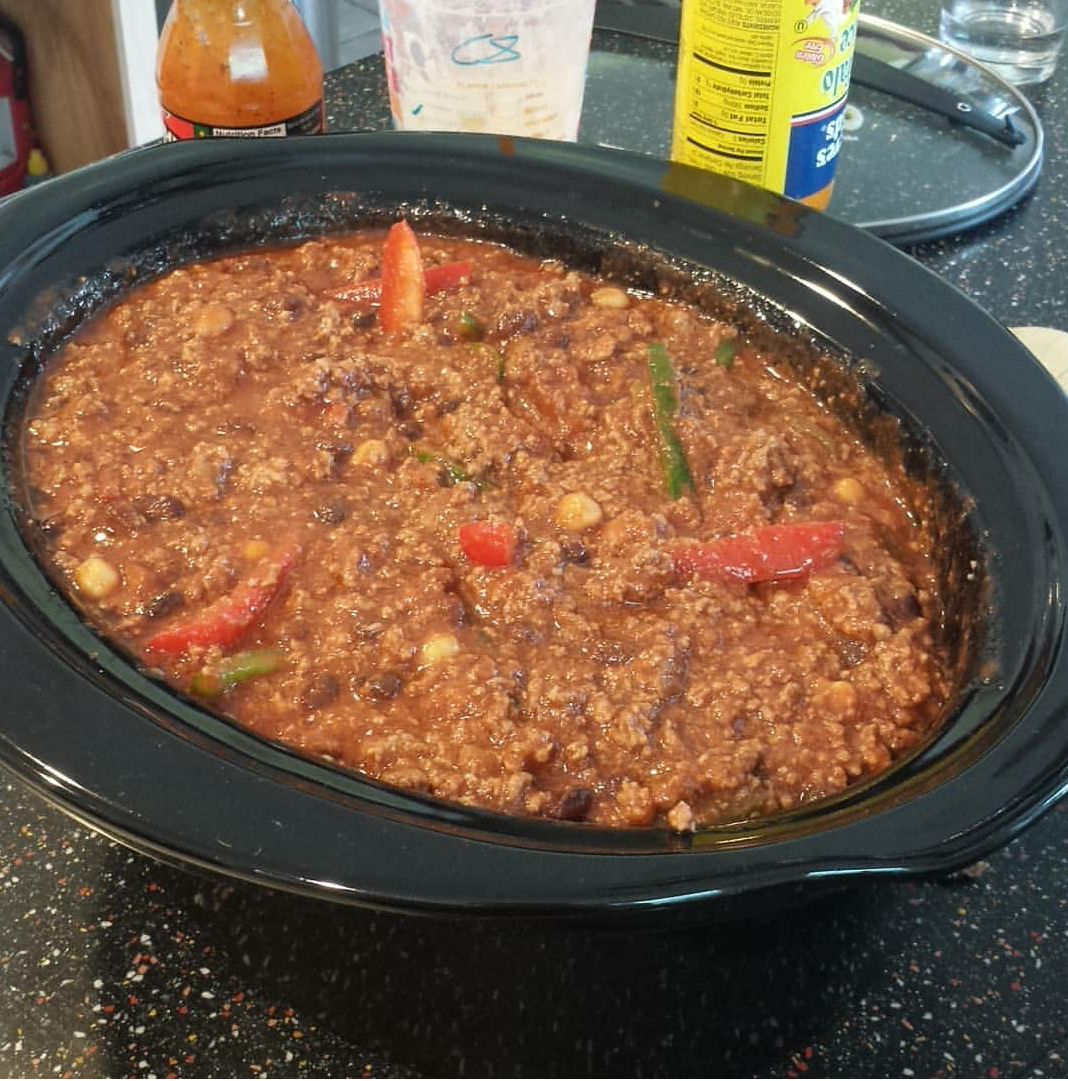
The corned beef didn’t come out as expected. It actually came out way better than anticipated! In fact, my parents have been talking to everyone about it and now I’ve been tasked with smoking more corned beef once the Coronavirus pandemic is over! A task I am willing and able to take on 🙂 Honestly, before St. Patrick’s Day, I didn’t think you could smoke corned beef, but you can!
Okay, Let’s get started with the ingredients:
– 3-4lb Corned Beef (I used a 3.6lb corned beef brisket)
– 1/2cup brown sugar (I used Sugar in the Raw)
– 1/2cup salt (not iodine table salt)
– the packet of pickling spice that comes with the corned beef
– 2 tbsp. of dried/ground mustard
– 8-10 cups of water
– 2 tbsp. of black pepper
– 3tsp of onion
– 3tsp of garlic powder
– 3tbsp. of paprika
– 3 tbsp. of ground mustard
– 2-3 tbsp. of brown sugar (I used Sugar in the Raw)
– one aluminum pan for the smoker (may depend on size of smoker)
– aluminum foil
– wood chips (I used apple wood chips instead of a heavier, bolder flavor)
Okay, now that we have our ingredients, let’s create some delicious magic, shall we?
1. First things first, we want to soak the corned beef in cold water for about 4-6hours to release the salts and preservatives that were added in. I used about 5 cups to soak it, but it’ll depend on your bowel choice and size of the meat. It could be more, could be less. (In the notes section, I will give you a timeline on what I did to maybe help illustrate steps 1 to the end.)
2. About 45 mins to 1 hour before the corned beef needs to be taken out of the water, start the brine (I actually made mine 3 hours earlier because I was doing other things). We will need to add the following in to a pot of water: 1/2c brown sugar (Sugar in the Raw), 1/2c salt (I used Mortons), pickling spice packet that came with the meat, 4-5 cups of water, and 2tbsp. of ground mustard. Let this simmer to a light boil for about 5 minutes then take it off the heat. (As this sits, the mixture is going to look absolutely disgusting and make you question yourself, but keep going. It will be okay!)
3. Once your time is up on soaking the corned beef in water, dump out the water and replace with the brine. I recommend giving the brine one last stir before adding to the meat, just to make sure everything is evenly dispersed. Let the sit over night (I left mine in for 7 hours).
4. Remove corned beef from the brine and discard the brine. Pat the (do not rub) the corned beef until it is dry. Make sure the corned beef is not dripping in brine.
5. In a bowl, mix all the spices (pepper, onion, garlic, paprika, brown sugar (sugar in the raw), salt (Morton’s), and ground mustard in a bowl. Once mixed, generously rub all over the corned beef. Place the corned beef in the aluminum tray and put in the refrigerator for about 4 1/2 -5 hours.
6. About 15-20 minutes before removing the corned beef from the refrigerator, fire up your smoker. Fill the water pan about 1/2 to 2/3 of the way with water (room temperature is fine), toss a handful of wood chips in its respective location, and set your smoker to 300F. I used apple smoked wood chips and thought it complimented the meat beautifully.
7. Once the smoker has reached the desire temperature of 300F, add the corned beef into the smoker. We put the corned beef with the aluminum tray in together and let it smoke for about 5 hours.
8. After 5 hours, take out the tray and cover the beef with aluminum foil for about 20 minutes to allow tinting and to let the meat rest.
9. Finally, slice the corned beef up and enjoy the delicious crisp edges, the light sweetness of the seasoning, and juicy dish you just created!
Here was my timeline to give you an idea of how I did this:
1. On 3/16/2020 at 8pm: added the corned beef to cold water to filter out the salts and preservatives.
2. At 8:30pm, I started making the brine since I was already in the kitchen supervising dessert time. Once the brine was ready, I set it off to the side to cool down.
3. 3/17/2020 at 12:00am, I dumped the water from the bowl the corned beef was in and added the brine. You can use the same bowl, no need to dirty a new bowl.
4. 3/17/202 at 7:30am, I dumped the brine, patted the corned beef down to dry it, and then added the spices/seasoning. Once that was done, I put the corned beef in the aluminum tray (uncovered) until 12:30pm.
5. At 12:15pm, the smoker was turned on and set to 300F.
6. At 12:30pm, the corned beef and tray were added to the smoker.
7. At 5pm, the corned beef and tray were removed from the smoker and covered with aluminum foil.
8. At 5:20pm, the corned beef was uncovered and the was being sliced.
So roughly, from beginning to end, took about 21 hours to do. It was not bad and the end result was delicious, well worth it, and mouthwatering.
Enjoy!